Monday, 17 December 2012

Crafty Weekend - Saturday (including making gingerbread!)

Saturday was a very productive day for me. I sent my husband out to go clay pigeon shooting with one of our friends giving me a few hours of peace.
This meant that I had time to make (or almost make) about 8 Christmas cards. Here are a few that I finished. They were unbelievably simple as I had the pictures in a big sheet from one of the pads of papers that I have had for a while and even the backgrounds are so simple but I think that they are really effective.
This is the state that my husband found me in when he got home - he couldn't believe the amount of stuff that I had out everywhere - but at least I knew where everything was (honest!)
I found quite a few images that I had stamped and coloured in last year so I have also cut the backgrounds for these - they are almost ready, I just need to stamp or print some words to put on them and then I can stick them all together. I feel so disorganised this year - I know I should have finished all of my Christmas cards weeks ago but at least I am getting some way to being done now. In my defence we have only received about 5 so far this year so we can't be too far behind everyone else!

I made this cracker box for one of my crafty friends and finished the gingerbread card - Woohoo!
I also finished my own copy of the Bake Off recipe book that we made for all of our friends. I added a little pouch to the back of mine to keep the original copies of some of the recipes in as they were so beautifully hand-written I couldn't bear to just bin them.
This neatly led me onto making some gingerbread men - one of the recipes that we made for the bake off - it's really easy but gingerbread is one of my favourite things in the world so it's always a treat. Here's a few photos of the process - if anyone would like the recipe and can't read it very clearly from the photo then please let me know!
Everything goes into the food processor:
Give it a little helping hand every now and again:
Then it's ready to be kneaded - just do this for a few minutes before refridgerating.
Once it's had it's chill out session then you can start rolling and cutting - this is the best bit and this time I even got to use all of my Christmassy shapes!
When they're cooked leave them to cool and then they are good for eating! The recipe makes quite a lot though so may not all in one sitting (last time I made them I do remember them all disappearing in one evening between four of us though!)
Decorate as you wish - my husband did this one as it was slightly burnt on the antlers - he was on oven checking duty at this point so this one is his fault! Still tasty though!

Friday, 14 December 2012

Speedy Birthday card done

I have made a very very speedy Birthday card tonight since I got home from work. Going out to the party shortly so no-one should really see this before the card is delivered - I think it should be safe to post about it.

My friend loves playing airsoft (a bit like paintball) so that's where the theme came from. I thought the decoupage on the front would be very suitable. Easy and basic card but I like to think that this format is always effective:


Wednesday, 12 December 2012

Crafty goodies arrived today

I was really excited this morning when the post man knocked on the door. 1 - It's a novelty that I am actually at home when the post arrives and not at work and 2 - the only reason the postman ever knocks at the door is because he has some sort of parcel.

It made a fantastic break from my revision for a few minutes today to run downstairs open the door and find a big pink package there for me. It was the Crafty Creatives box that I ordered last month. I was so excited when it arrived I just had to stop all of my work and open the box straight away.

It arrived all packed up in pink - so pretty!
And it just kept getting better as I opened it - please don't scroll down any further if you want your box to be a surprise!

I was really pleased that the first thing I noticed was a ball of white fluffy wool in there (perfect for making snowmen or big snowy pom poms - which could be turned into snowmen!)

There's loads of beads in there and a wire ring to make a choker necklace with. There's snowflake stickers and paper the could be used for card making up when wrapping prezzies the snowflakes could just add a little sparkle.

The thing that I am excited about most of all is the kit - this month it is to make your own bath bomb. One of my favourite things when I can get them is to put a bath bomb in the bath and have a good long soak so I can't wait to try making my own.

This is as far as I've got with opening the box as I have been busy revising all day but I can't wait to get the exam over with tomorrow and start playing with my new toys! I feel like a kid in a sweet shop with all of the sparkly excitedness.

Tuesday, 11 December 2012

Craft Swap complete and It's Christmas!!!!

Ok so it's been about a week since I last posted. Sorry it has been so long - have had so much to do. I have tried to keep up with my promise to myself and have been doing something fun (not always for very long) every day and normally this means something crafty.

I have been doing a cross-stitch ready for a Christmas card I am going to make. A few stitches every day and it is now done. I love these little projects that are starting to take shape in what seems like no time at all. I have done this gingerbread one and am planning on making a card with this and the ribbon that I bought while I was on holiday too. Not sure what it will look like yet but hopefully that will be a nice one - I think I will be passing that on to one of my crafty friends so hopefully they should appreciate that too.


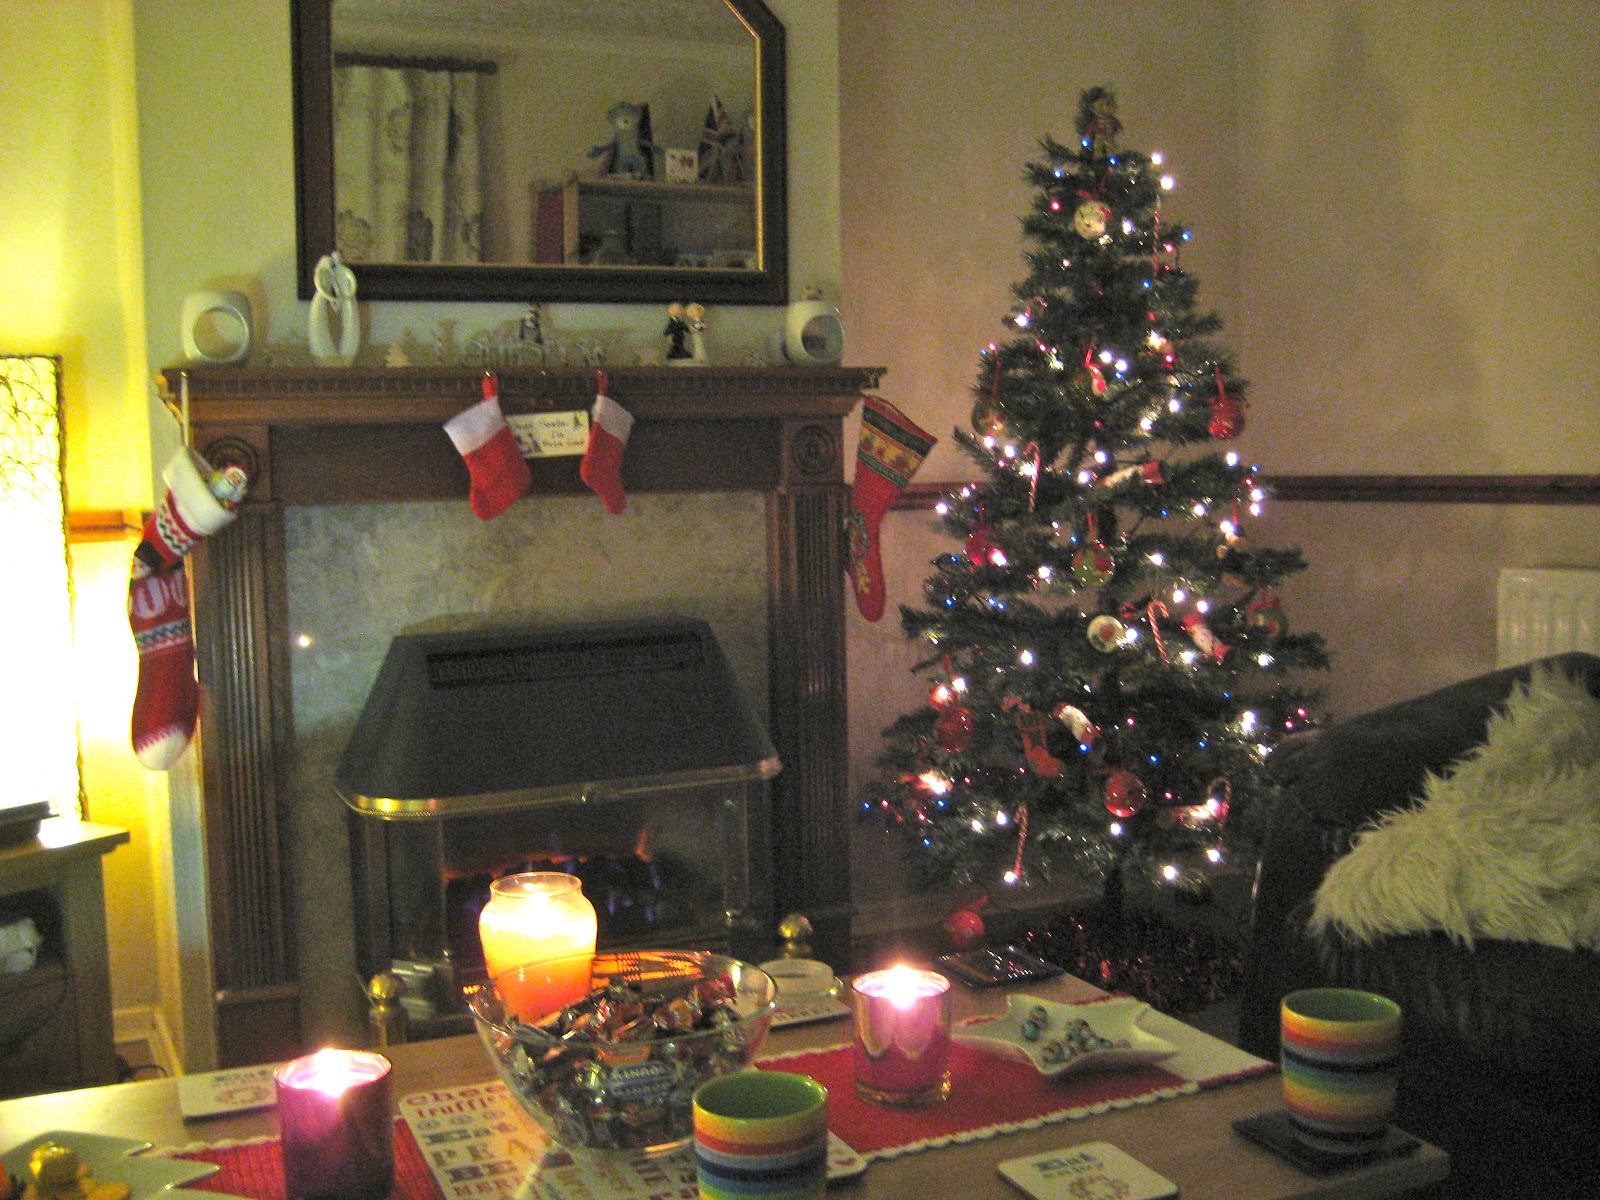
On Saturday we put up the rest of our Christmas decorations in the living room - we don't have many to go around the rest of the house but I love our cozy Christmas lounge.


 Pudding seems to have made himself at home in our arm chair - my husbands "man chair" may be out of bounds for a few weeks I think!
 We bought this off a lady in Lincoln a few weeks ago - it was a bit heavy to go on the top of the tree so it's ended up on the wall. The golden bear will have to be the topper to our tree again this year until we find a nice star to go up there instead.

I have also always had a little tree that I had up in my room when I was younger so this has gone up in the hallway so people can see the lights from outside. No photos of this at the mo but I'm sure it'll make it's appearance at some point on the blog.

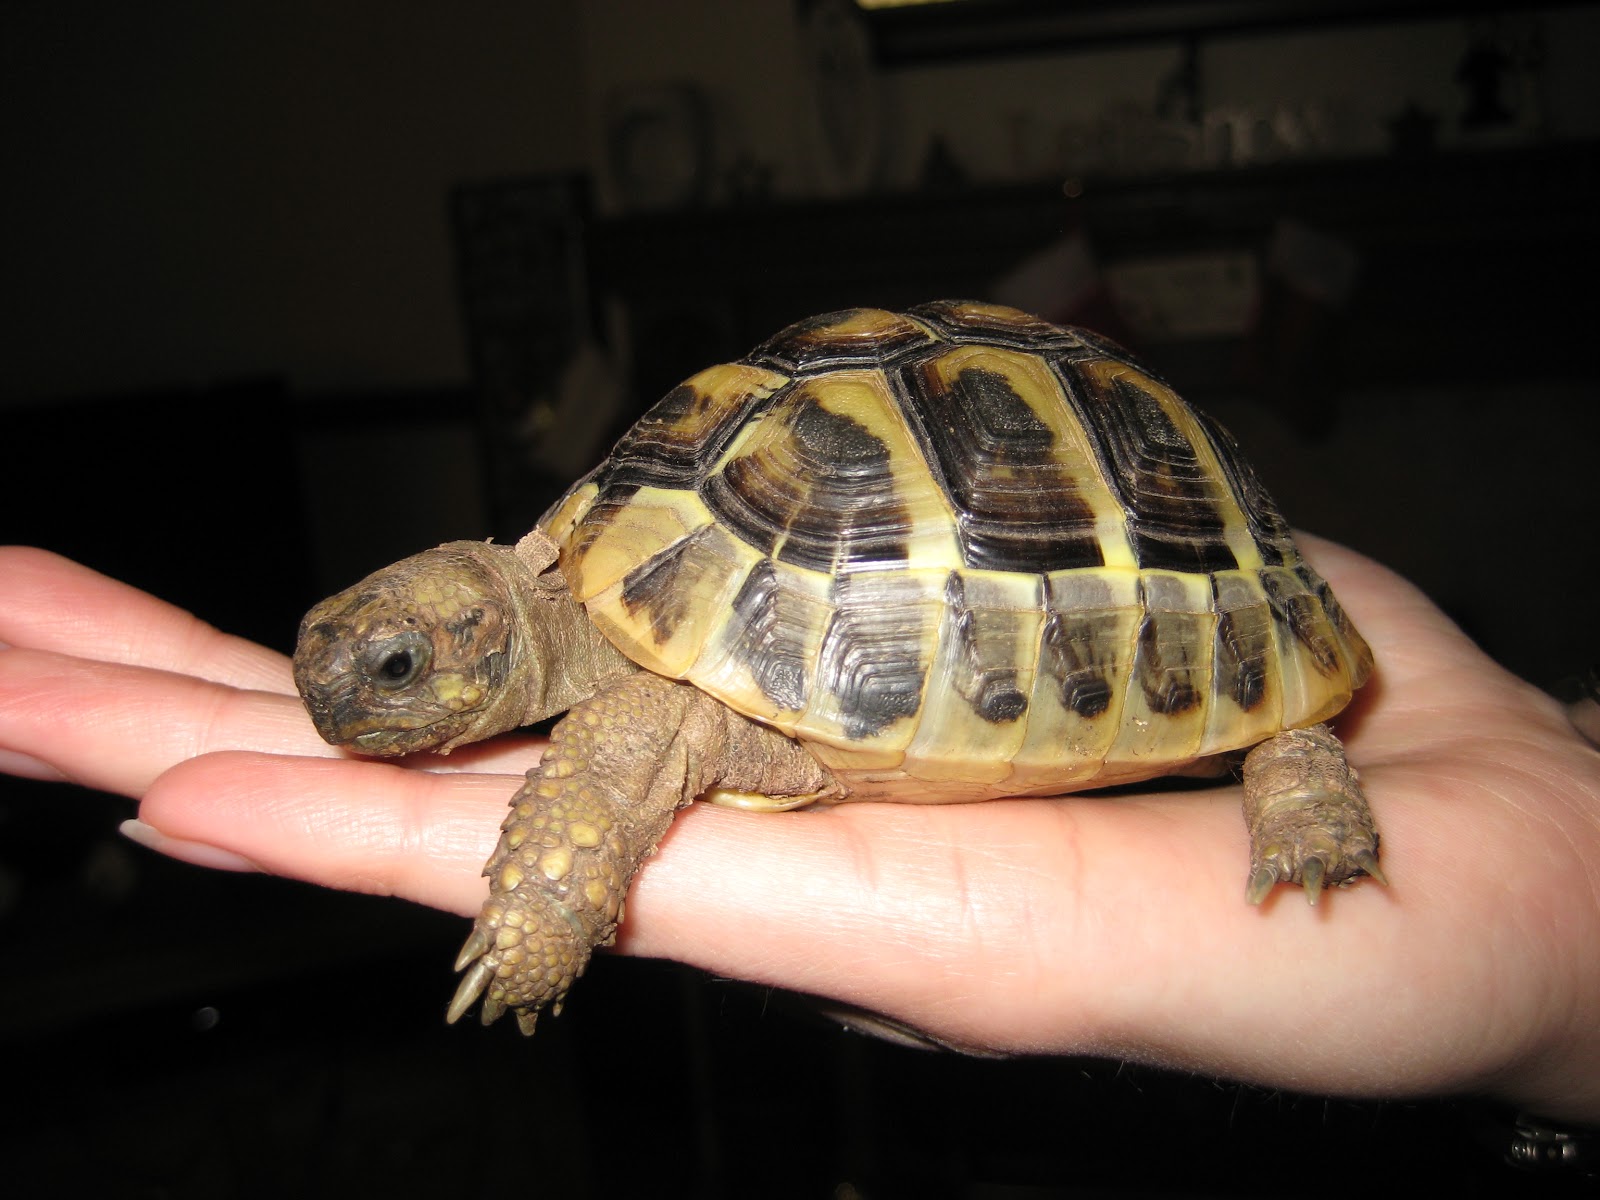
Henlow's still doing well - he posed for me a couple of days ago so I got a few more photos of him. This is the best one I think:


I have also made and handed out the first few Christmas cards of the year. Here are a few that I have made - these one's have been passed on to some of my family already and hopefully I will have chance to make a few more very soon once I have my exam out of the way on Thursday.


Finally and I think most importantly of all - I have finally finished all of the little things that I have been making for the craft swap - I made the final part last night and have wrapped it all up ready to be posted off tomorrow. I can't wait to share with you all of the things that I have been making and more than anything else I hope that the lovely Hannah enjoys them when she gets them too.

I had thought about putting a photo of the wrapped presents in here (and I may well change my mind later) but I don't want to ruin the surprise at all so that's all for now I think - as soon as she receives her gifts I will post all of the photos.

PS. I'm also really excited and intrigued to see what I get back in return. I have loved making my little gifts for this swap and I hope that she has too.

Tuesday, 4 December 2012

A list and tassels!

Yesterday I made a decision - I think that (much like on other blogs that I have read) I need to do something nice or slightly crafty (or normally a bit of both!) every day. Even if what I can do is only for a few minutes.

This kind of spurred me into action towards getting my Christmassy table runner finished. It's still not completely done but it's getting there. My little creative and (ok so I didn't massively enjoy it but) fun thing to do yesterday was to work on getting this nearer to completion.

I finally got around to adding the tassels! I found an idea for how to make them online and then thought I would give it a go. It's kind of like making a pom pom but not so round. I have tried to take a few photo's as I went along so it might not be a perfect guide on how to make them but it gives you an idea - here goes - I'm sorry for the slightly blurry photo's, I've been feeling a little shaky recently:

Get a piece of card and cut to into a rectangle with the longest side to be the length that you want your tassel. (I used an old toilet roll - not very glamorous but it did the job!) Cut two slits in the cardboard at one end - this will be where we secure the strands together and the pom pom-y bit starts. Once you have the card ready you can start to wrap around your chosen colour for your tassel.
Keep winding until the tassel becomes the correct thickness. We can then start to secure the strands together. Do this by winding your yarn to the bit where you cut the slit in the card and starting to wrap around the strands that you have just made.
Wind this quite tightly so that all of the strands are secured together and the "knot" is the correct thickness.
Then we cut our yarn leaving enough length just to thread this down through the "knot" and become the correct length to reach the end of the cardboard. You can always cut this down later if it ends up too long though.
 
Secure the top of the tassel with a knot through the top. Thread your needle through being careful to catch all of the loops as you go through and tie together tightly. If you cut this length long enough you can also use this thread to attach the tassel to the chosen item.
 
 
Finally cut along the end of the cardboard (the end that is furthest from the knot) to release the pom pom part and slide the top away from the card.
 
I repeated this whole process again to make two tassels - checking as I went along that both appeared to be the same thickness with the same sized "knot" part way down.
I love the way that these have turned out and like the way the runner looks on the (now slightly Christmassy) coffee table. All I have left to do is sew on some stars and maybe some Christmas trees in green too.
 
I have had a lot of work to do today so haven't managed much in the way of crafty-ness today however I think my husband might be catching the bug - he has stamped and water painted this image tonight so that we can make it into a Christmas card for someone. I have a horrible feeling I am now about to be drafted in to help with the rest of it!

Sunday, 2 December 2012

Henlow's new home and lots of crafty goodness

Well ok, it's the same home but it's moved and been cleaned out.

Out with the old mud and sand mix:

Temporary home on the coffee table for a few mins - not bothered at all - I'm pleased we didn't interrupt his lunch!
And in with the new substrate mix - he looks like he's doing a little mountaineering here:
He had to move out of his usual corner of the living room and into a nice little space by the side of the sofa to make space for the Christmas tree which will be going up shortly.

The advent calendar made its annual appearance this weekend:
Me and mum made this when I was pretty small and has been used every year since. It needed a minor repair job to keep it attached to the wood at the top this year but it's still going strong and I think it will have a few more years in it yet.

Today I went to another class at the wonderful Knit Nottingham to learn some Christmas Amigurumi - we made a snowman and also started a Christmas tree but I was a little too slow to get this one finished.  I have the pattern to make a cracker as well so might have a go at these at home. It was a brilliant class (as always) as we learnt a lot of new techniques and I also got my snowman from it too :-) I think it I were to make this again I would use beads instead of the french knots for the coal mouth and eyes but otherwise really successful.

Other news - sorry there are lots of bits and bobs in this post - I made a place on my wall to keep all of my ribbon. I have to say this was slightly inspired but Kirsty's Vintage Home and the way that she has ribbon stored in her workshop but looks really good as well as making it a lot easier to get to all of my ribbon than when it was stuffed in a drawer.

I was given the link to a craft club called Crafty Creatives through the blog of my craft swap buddy (http://quirkyhannah.wordpress.com/) and was so excited about the idea of a parcel of craft ideas and inspiration arriving through the post every month that I just had to sign up straight away. I haven't received anything yet as I was not in time for November's box but I can't wait to get my first box around the middle of December. Watch this space for what I receive.

I was asked to make a card for my boss at work who is leaving this week to have a baby - she is decorating the baby's room in yellows and other pastel colours with a Noah's arc theme so I found as many pictures of animals and other little baby things as I could. I hope that the rest of my department and her (when she is given it) like it! I am feeling under quite a lot of pressure for this one - fingers crossed!
 
Sorry for the big blanks in the photo's - the "social media policy" (really?!?) at work doesn't allow us to mention the company name and to be honest it's not worth the risk of losing my job.

And last but of course by no means least - I have also made a card for my Mum who's birthday it was yesterday (hence I can now blog about it!) My husband experimented with some new water brushes that he got and painted the Boofle picture and we also stamped the letters for Mum to go on the front.
  
Have a good week everyone out there in blog-land! I'm back at work and college again all week and have an exam shortly so I'm sorry if there's not too much excitement from me.